State of Georgia - Pottery and History Curriculum Lesson for Homeschooling or Summer Enrichment

Pottery Road Trip!
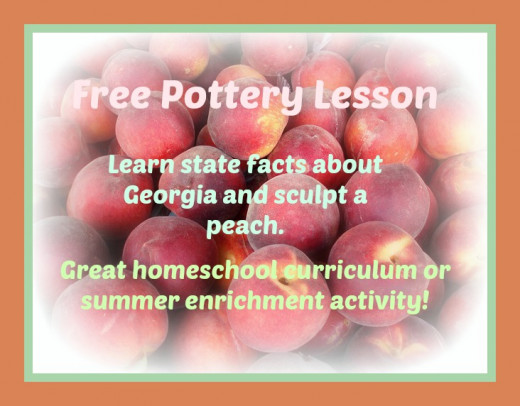

Georgia on My Mind
This lesson is from my curriculum series, Pottery Road Trip. These were lessons I created to teach elementary aged students more about the United States. I have listed state facts about Georgia. You can use this lesson as a quick afternoon activity, or you can use it to introduce a unit study. Read the state facts, find Georgia on a map and do research about Georgia.
You can adapt this lesson to work for any age. For younger children, print color sheets about Georgia or have them make a lapbook. For older children, have them read a biography of a famous person from Georgia and write a report. Above all, have fun while learning about Georgia.
See my hubs for other state lessons.
Georgia State Facts
State Abbreviation: GA
Capital: Atlanta
State Nickname: The Peach State
State Motto: “Wisdom, Justice and Moderation”
State Song: “Georgia on My Mind”
State Bird: Brown Thrasher
State Tree: Live Oak
State Flower: Cherokee Rose
State Insect: Honey Bee
State Reptile: Gopher Tortoise
State Fish: Large Mouth Bass
Famous People Born in Georgia:
Jimmy Carter, 39th President of the US
Jeff Foxworthy, ”You Might Be a Redneck”
Margaret Mitchell, Author of Gone with the Wind
Martin Luther King Jr, Civil Rights Leader
Julia Roberts, actress
Ryan Seacrest, host
Fun Facts:
St. Mary’s, Georgia is the second oldest city in America.
Georgia was named for King George II of England.
Georgia is the number one producer of the three P’s: peanuts, peaches and pecans.
Coca Cola was invented in Georgia.
For the Peach State, we will make peaches.
How you make a peach depends on whether you are kiln-firing the project or not. If you are not kiln-firing it, just make a ball big enough to be a peach. However, for kiln fired projects, you can't have a solid piece of clay that thick. (Or you risk an explosion.) Instead, follow these directions:
(Even if you aren't kiln firing, it might be more fun to follow these instructions anyway as it makes the project a little more complicated.)
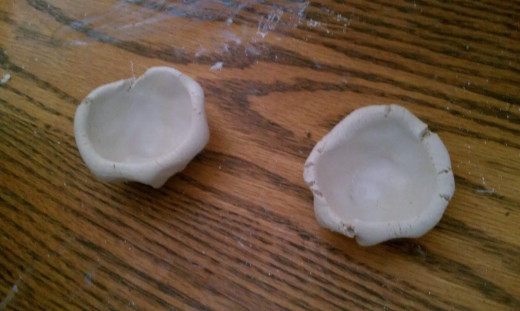
First, make two small balls that are the same size.
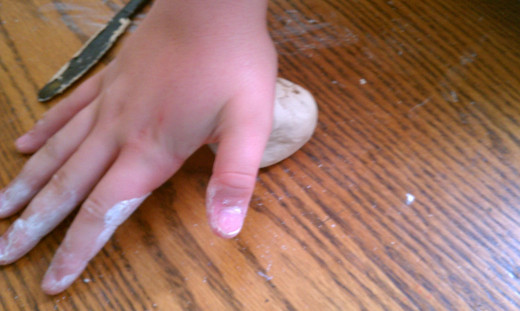
Make pinch pots. Do this by first sticking your thumb in each ball.
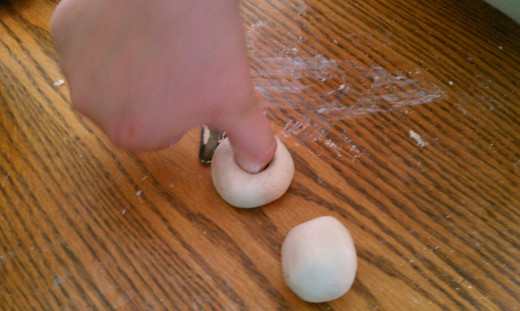
Next, pinch the clay to open it up into a small pot shape.
Make both pots the same size.
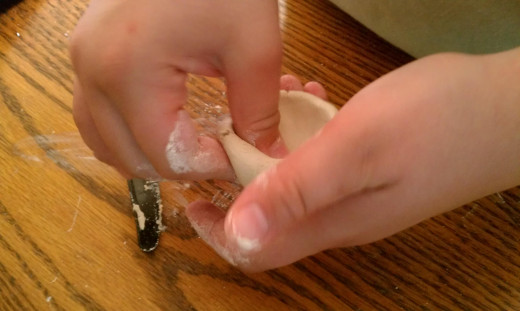
Stuff some newspaper or a paper towel in the pots to keep them from collapsing. If you are kiln-firing, the newspaper will fire away in the kiln. If you aren'
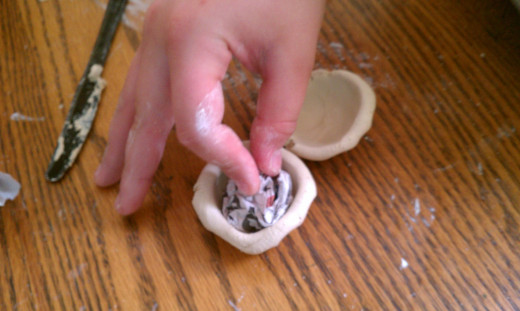
Put the two pots together and begin sealing the edges. Remember, if you are kiln firing, you need to attach the clay properly.

Find the instructions for properly attaching clay in my Hub:
- How to Use Real Clay
This is an explanation of the proper way to use "real" clay.
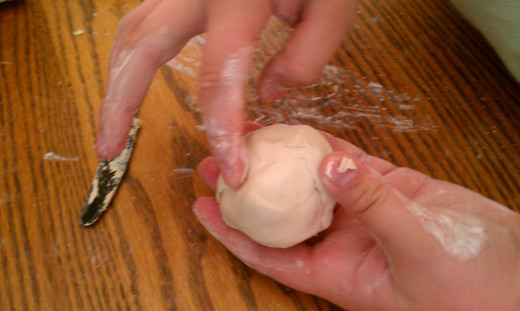
Wet your fingers and smooth the seams. (With polymer clay, leave out the water.)
If you are kiln firing, make a hole somewhere in the peach so steam can escape. Otherwise, you are creating a little clay bomb.
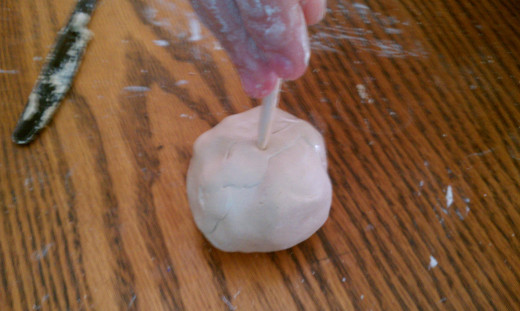
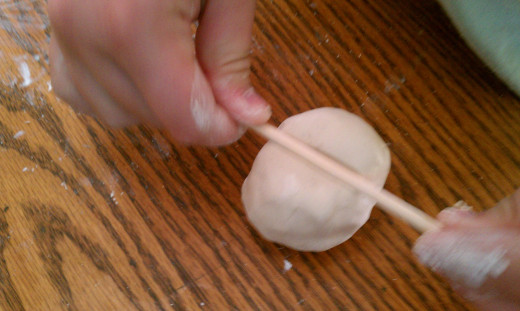
Use the stick to make a line in the peach. My family calls this the butt. I don't know the technical term.
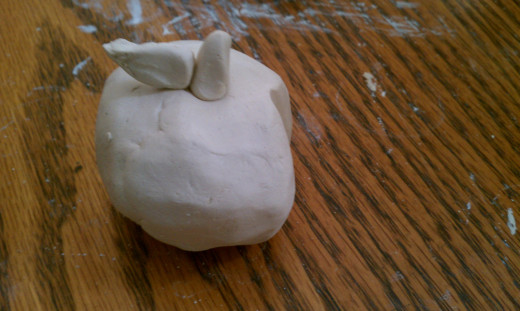
Form a stem and a leaf by pinching small pieces of clay and attach them to the peach. Now you have a finished peach!
Related

Everything You Need to Know About Homeschooling Laws in Texas: Navigating State Requirements for a Successful Education

Homeschooling Using Abeka Video Program

Homeschooling the Early Years

Mastering Power Homeschool: A Homeschooling Mom's Guide to Tracking Student Progress and Achieving Academic Success

The Best Elementary Homeschool Curriculum


